Introduction
What is the xTend RE App?
xTend is a next-generation real estate visualization and marketing tool that pushes the boundaries of the sales process into virtual space. As a marketing tool, xTend comes with multiple possibilities, from complete customization and branding on the platform to easy presentation of the planned new construction at fairs and in marketing campaigns.
The platform also offers a new sales channel that enables mass sales, helps speed up the buying decision process and increase sales close rates.
Prerequisites for using the App
To access the App, you must meet one of the following conditions:
- Receive an invitation:
Before signing up in the App, you must first be invited to join a specific brand. An e-mail invitation you receive will contain the necessary access data for you to register and use the App.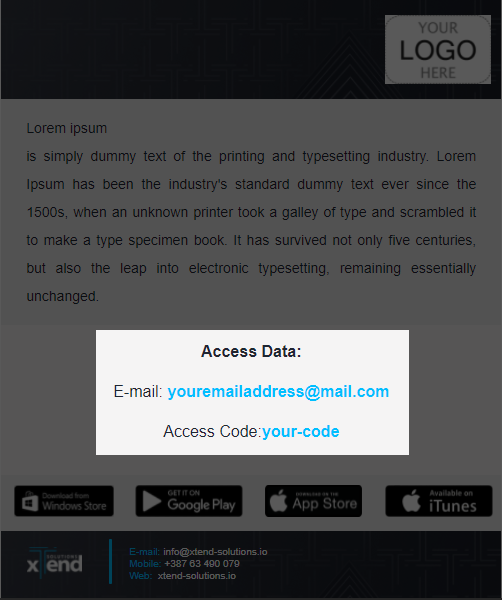
You can use the same access data to sign up in the App on four platforms/operating systems: Windows, Android, iOS, and MAC.
- Have access to a brand’s promo code:
If a brand has an active campaign, you can access the App by entering the campaign promo code. You can only sign up during an ongoing campaign.
Download and Installation
If you have received an invitation by e-mail, in addition to access data, the invitation also includes links to download the App from the Microsoft Store, Google Play, App Store, and iTunes.

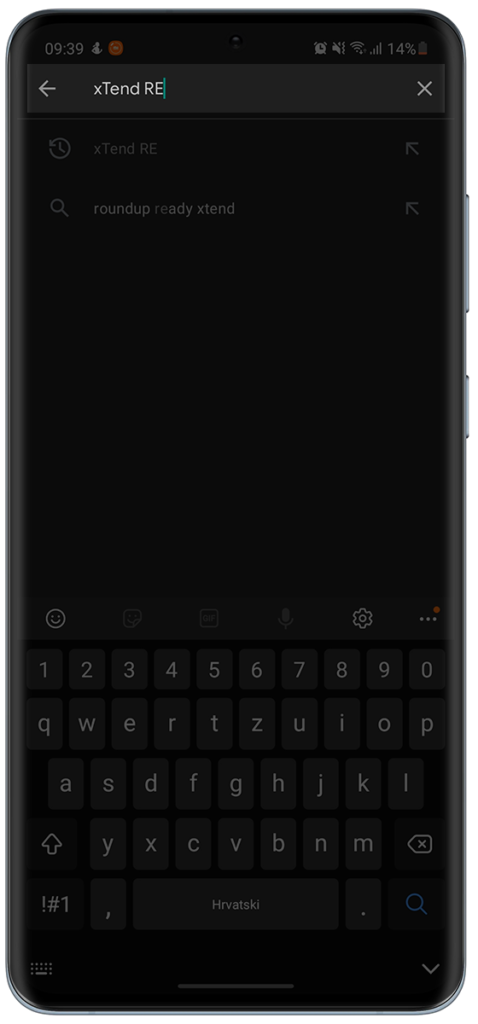
Otherwise, you can find the App in the Google Play Store:
- Search the Store for “xTend RE”:
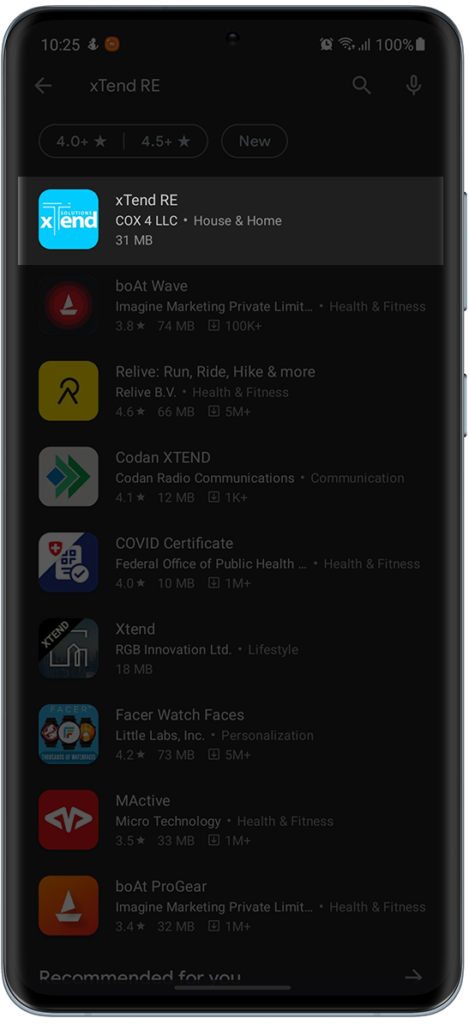
- Choose the “xTend RE” App:
- Click on “Install” to install the App on your device:
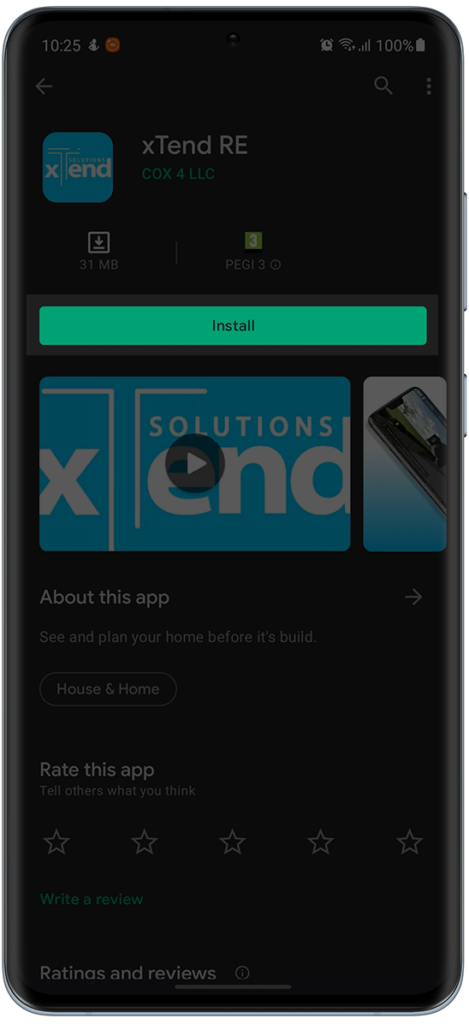
- After download and installation, click on the App’s icon on your screen to start the App:
Signing up in the App
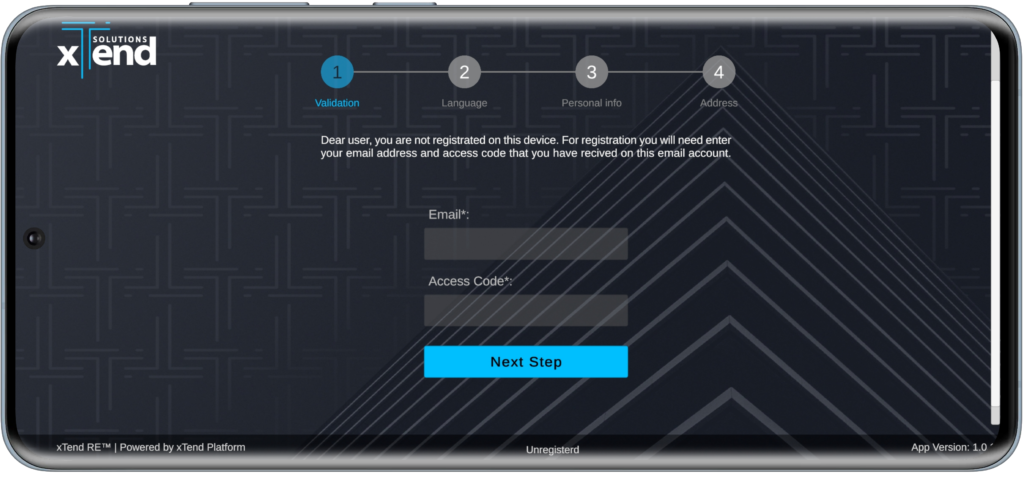
The sign-up (registration) process is done through a few steps:
- Enter your access data:
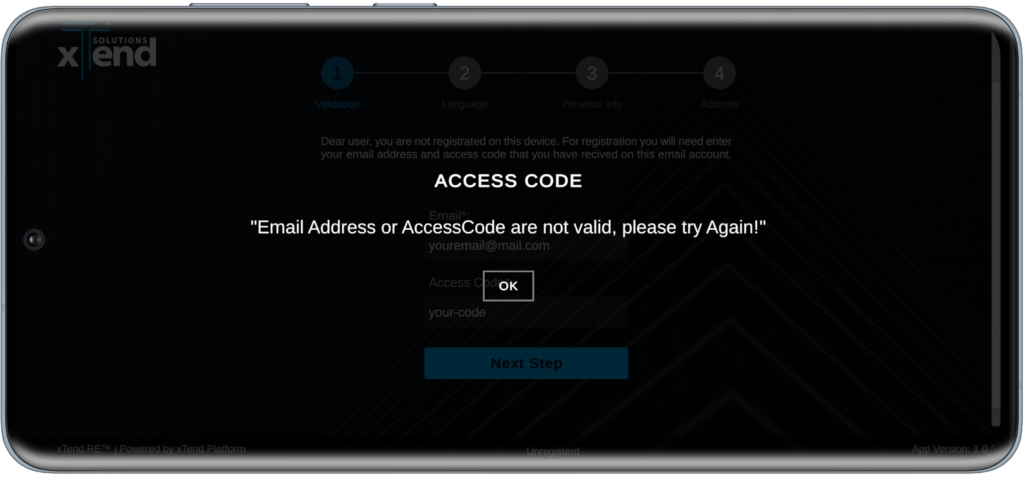
If the data you entered is not valid, you will receive a notification on the screen. You will remain in the same window, so you can try registering again.
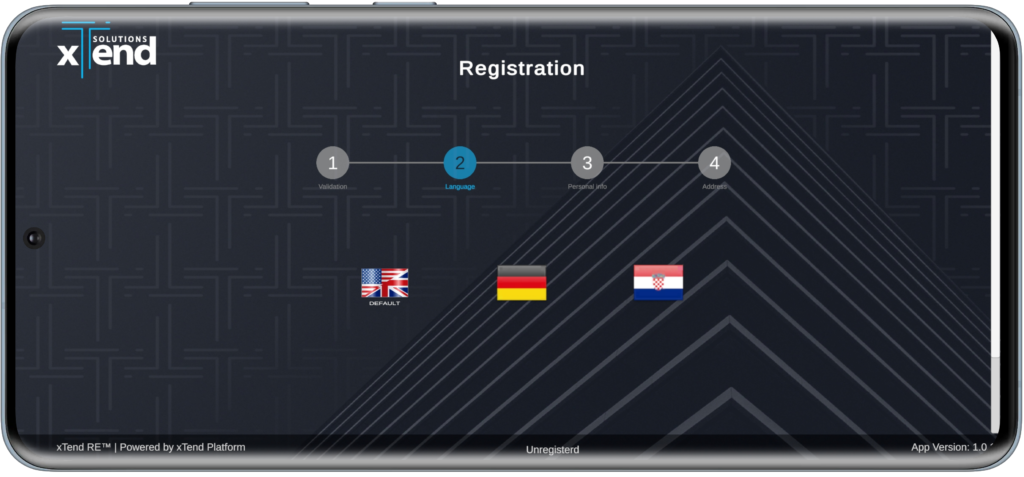
- Select the language you want to use in the App:
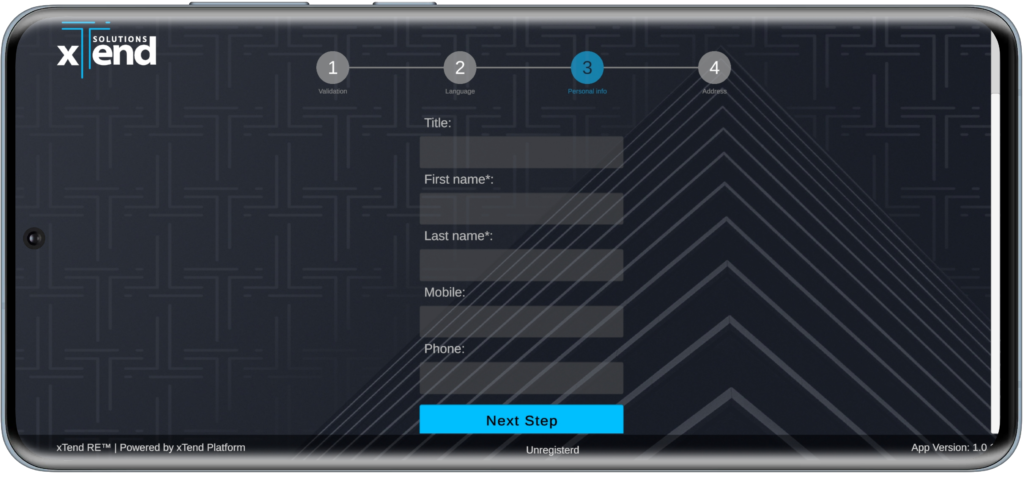
- Enter the required user information:
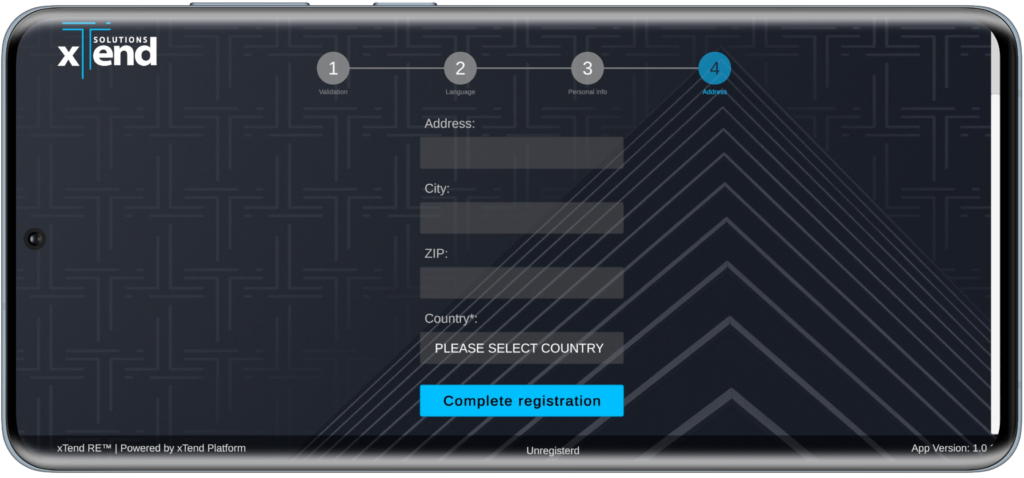
- Enter address information:
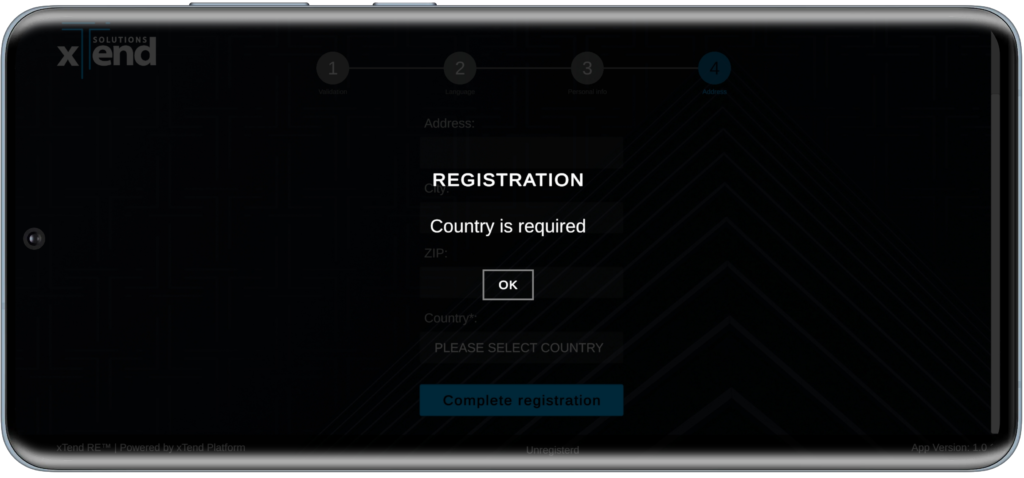
If any of the required fields has been left empty, the App will display a warning message.
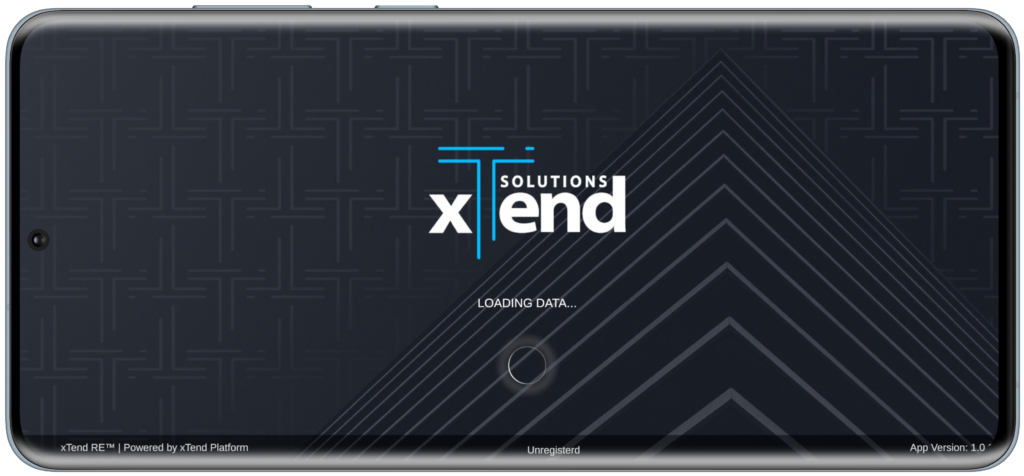
After clicking on the “Complete registration” button, your account has been created, your data is saved, and the App will start running.
While the App is loading, it is displaying an initial screen with the xTend platform logo:
After that, you will see the logo and a message from the brand through which you registered on the App:
Navigating the App
After running the App, you can stay and move through the navigation bar or exit the App:
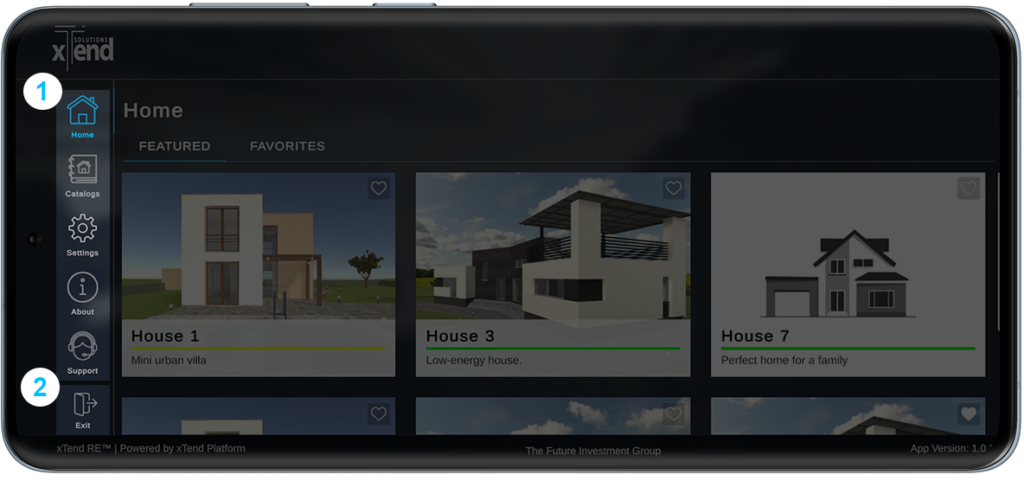
- Navigation bar (Home, Catalogues, Settings, About, and Support) By clicking on an icon in the navigation bar, the App will take you to the selected module.
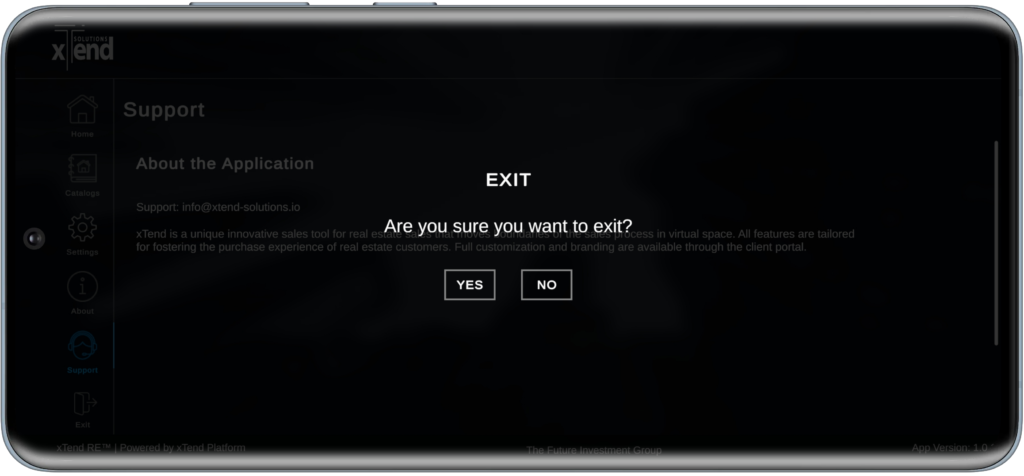
- Exit
You can exit the App by clicking “Exit”:
Modules
- Home Module
The Home module is showing models that are highlighted and the ones you added to Favorites.The highlighted models are defined by the brand itself:
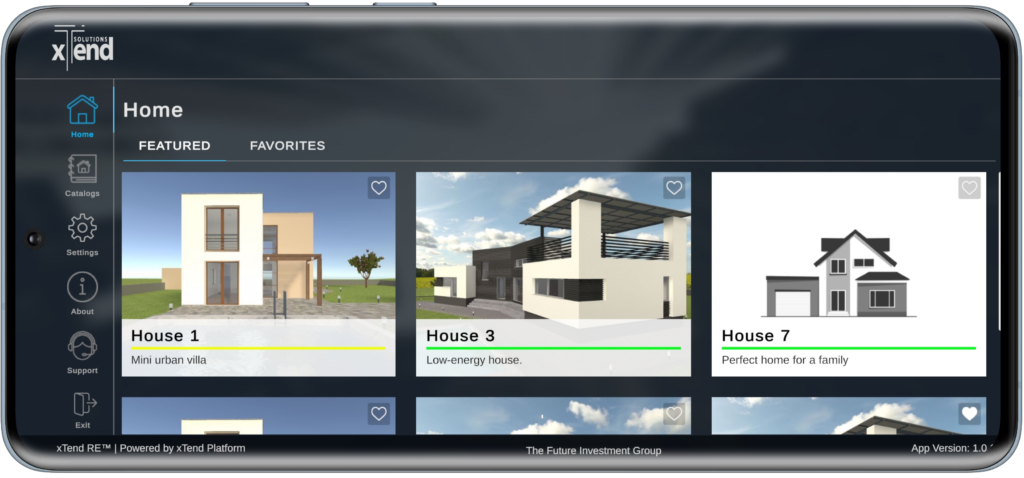
“Favorites” shows models you tagged as your personal favorites:

- Catalogs Module
The Catalogs module displays a list of catalogs together with basic information about each of the catalogs.
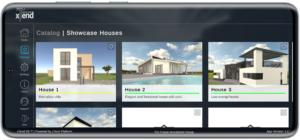
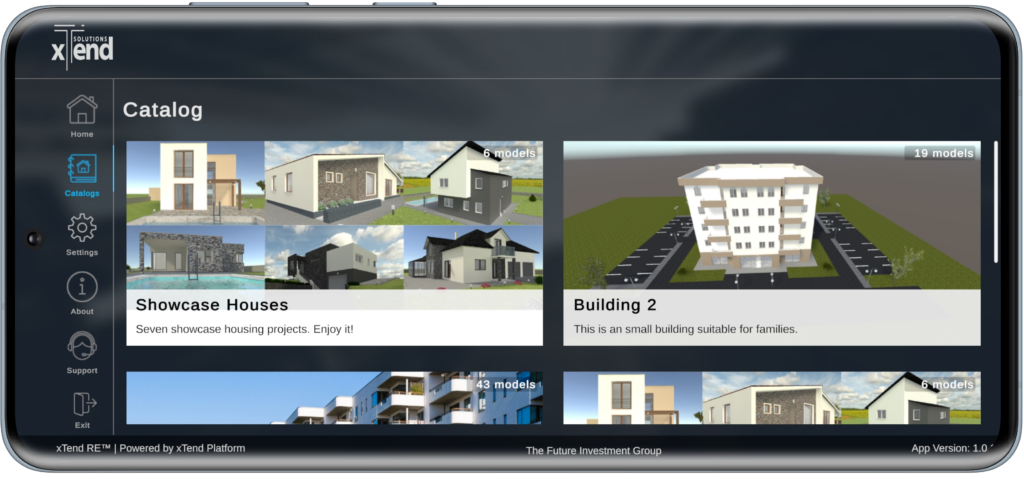 After opening a catalogue, the App will show the models the catalog contains.
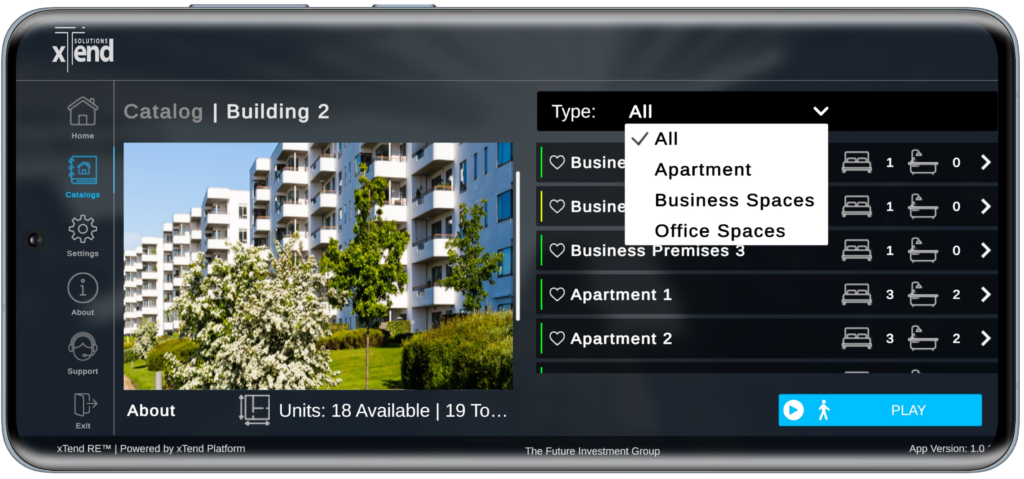
Catalogs are defined based on the types of real estate; therefore, we differentiate between two types of catalogs:
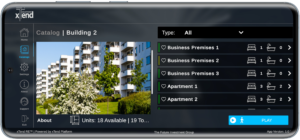
The second type allows for filtering the items within a catalog:
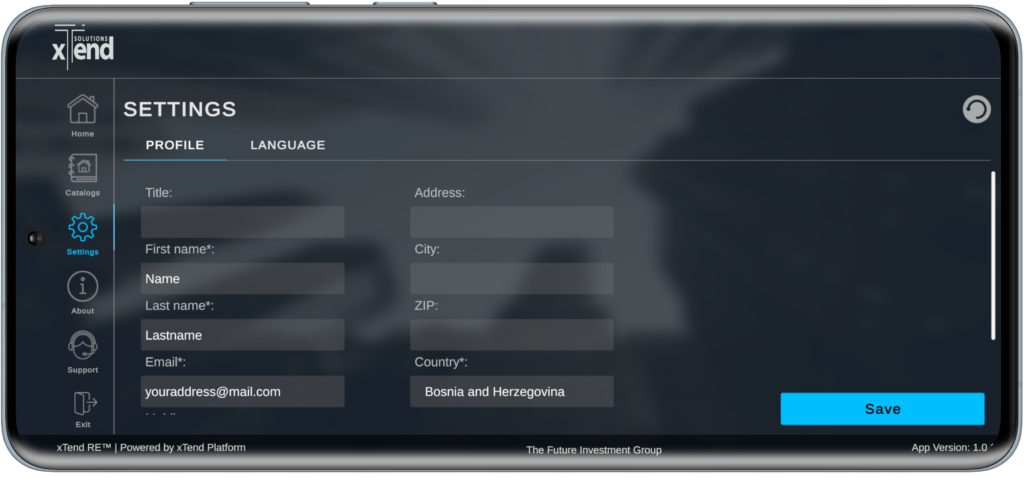
- Settings Module
The Settings module contains your profile information and the language used in the App.Profile data can be updated at any time, and changes are saved by clicking the “Save” button.
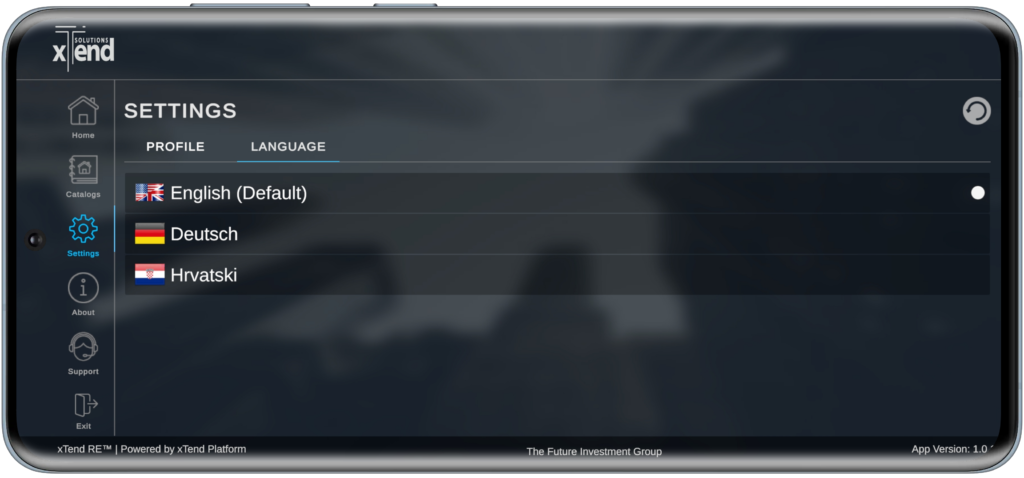
Also, you can change the App’s language settings at any time.
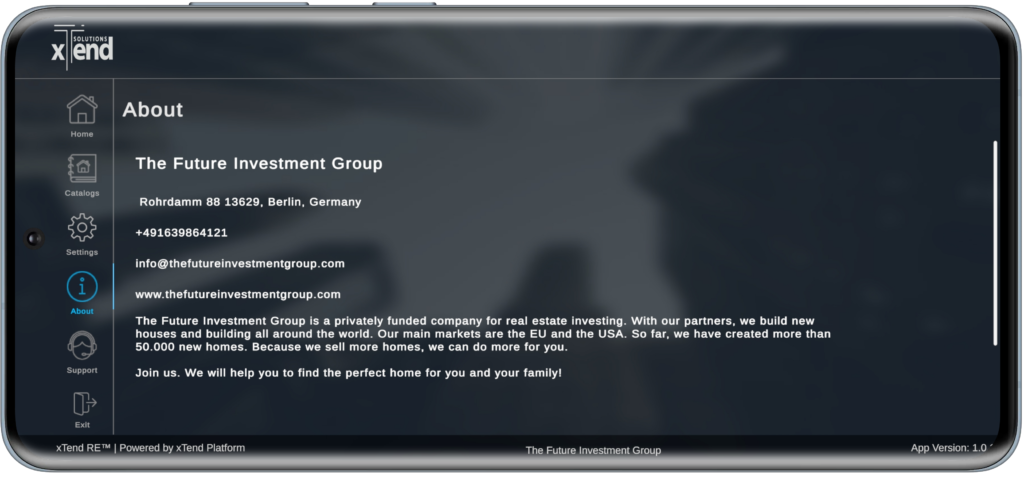
- About Module
The About module contains information about the brand you registered with.
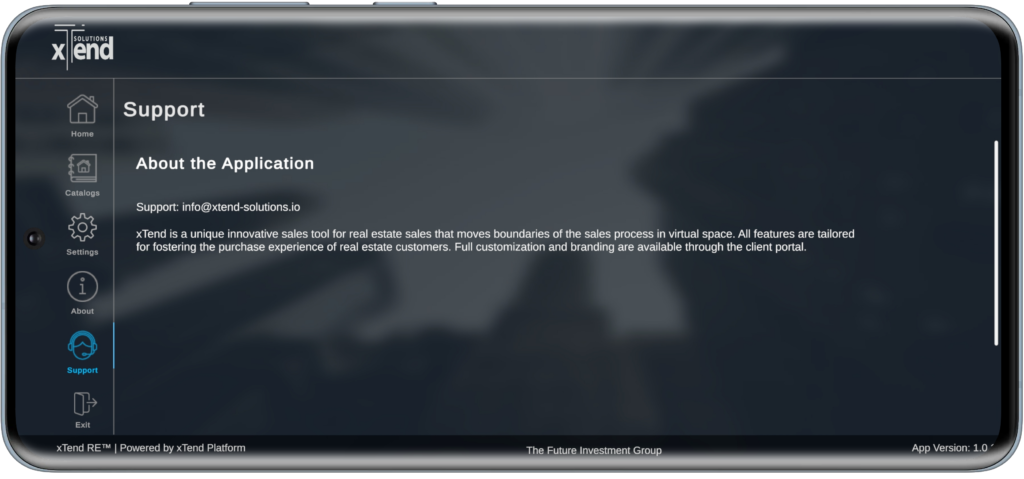
- Support Module
The Support module contains information for contacting the App’s customer support, as well as basic information about the App.
Model
Upon opening a model, the description of the property will be displayed:
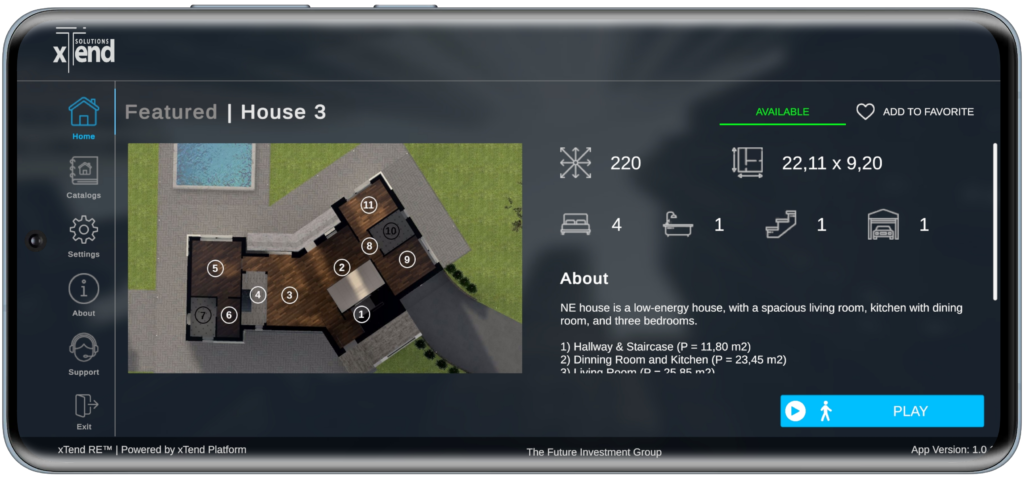
In addition, the App will show two buttons: “Add to favorites”/”Remove from favorites” and “Start”:
- By clicking “Add to favorites”/”Remove from favorites”, you can add or remove properties from your Favorites list.
- By clicking the “Start” button, the model will load and the App will start running in Game mode:

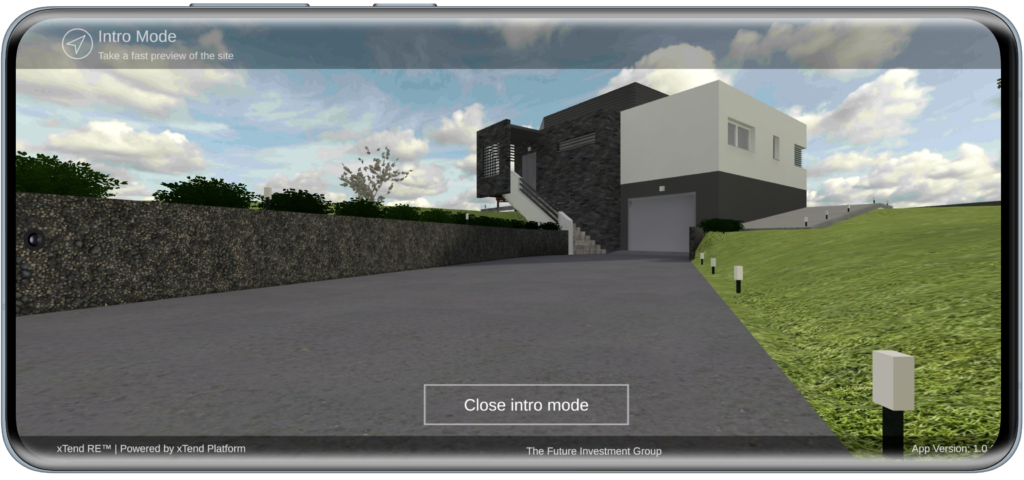
Navigating through a model
After a model has loaded, the “Intro mode” is displayed, i.e. a brief visual overview of the model you selected to view. It can be closed by clicking the “Close Intro Mode” button.
Then, the Game screen is displayed, on which you can find:
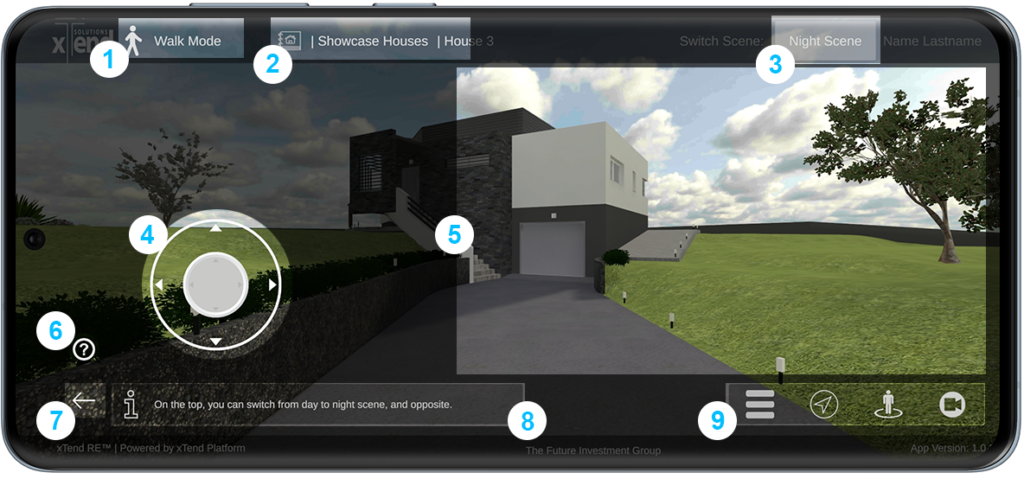
- Active navigation mode
- Model name
- Button for switching between the night and day scenes
- Joystick for moving around a model
- Sensitive camera control area (head rotation)
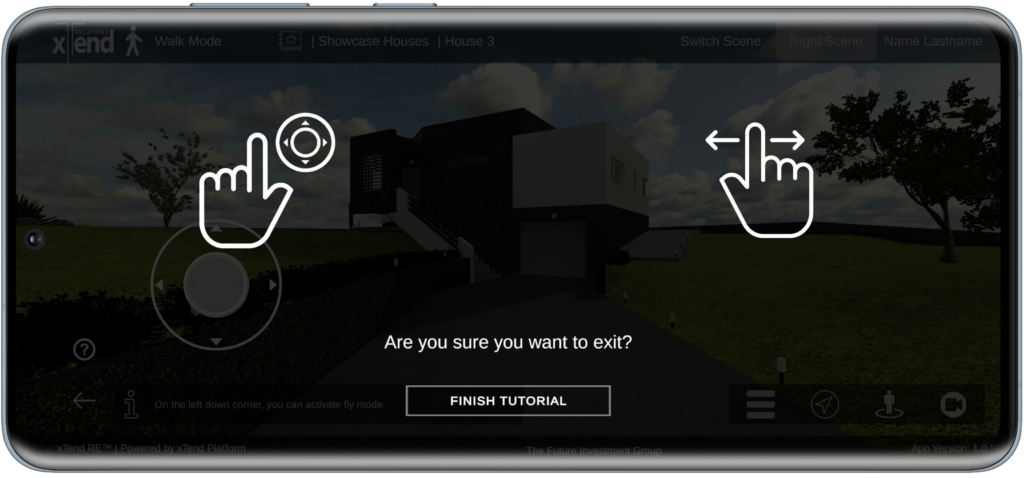
- Tutorial activation button
- Exit button for exiting the model
- Instructions for navigating the model
- Activation buttons:
- Menu
- Auto Mode
- Portal Mode
- Camera Mode
Navigation within a model
Moving within a model is enabled by touch controls and icons displayed on the screen.
There are several types of navigation:
- Walk Mode
This is the default way to tour a property. The joystick on the left side of the screen allows you to move back and forth and left and right. On the right side of the screen, there is a “touch-sensitive” area that allows you to turn your head, i.e. control the camera. With continuous and light finger movements back and forth and left and right, you can move the camera and adjust it to get a view you want.
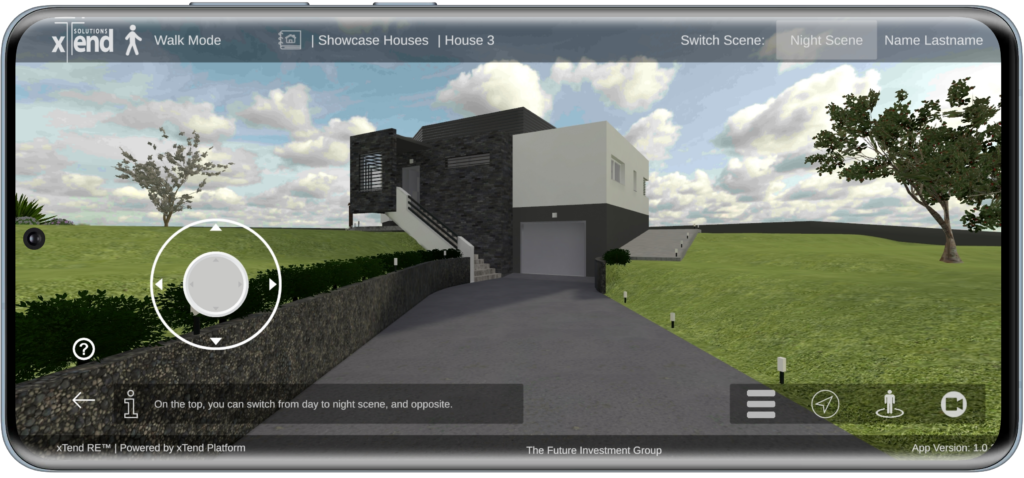
For the App to work optimally, it is recommended to use both hands when moving:
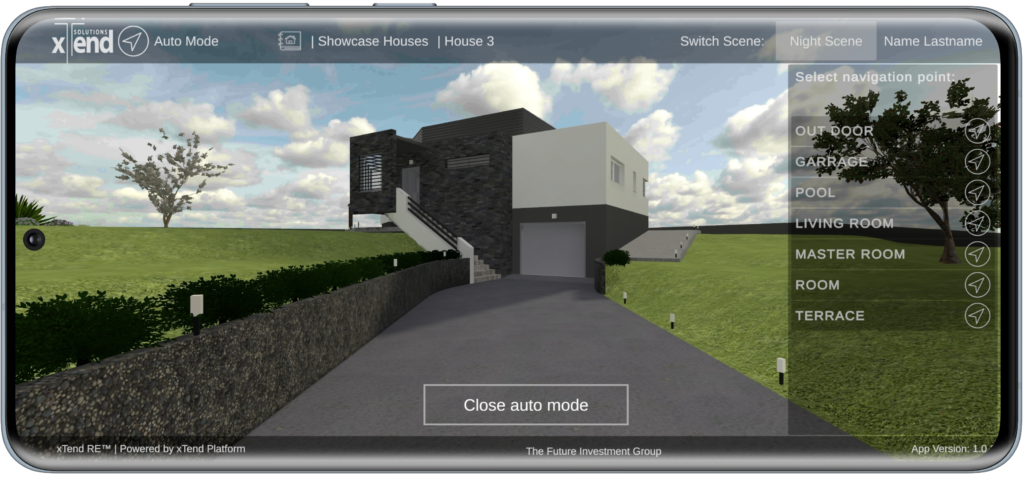
- Auto Mode
By activating the automatic navigation, a menu with a list of available navigation points opens on the right. By selecting a specific point, the App automatically guides you to your destination.You can exit the automatic navigation at any time by clicking on the “Close Auto Mode” button.
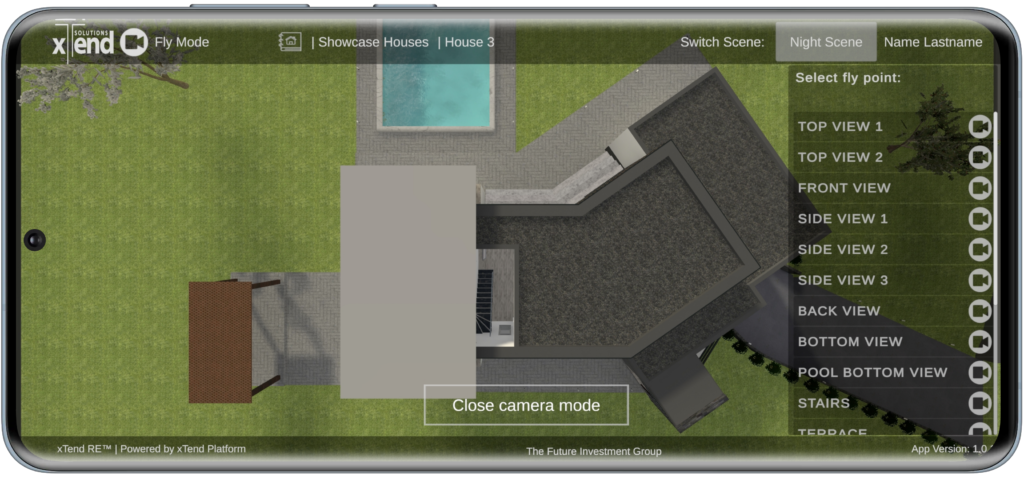
- Camera Mode
Activating the camera navigation on the right opens a menu with a list of available viewpoints. By selecting a specific point, the camera is placed in a defined position and allows you to view the property from a specific point of view.Camera navigation can be exited at any time by clicking on the “Close Camera Mode” button.
- Portal Mode
Use portal navigation to easily move from place to place.Activating the portal navigation on the right opens a menu with a list of available points. By selecting a specific point, you can easily shift from one place to another.
You can exit the portal navigation at any time by clicking on the “Close Portal Mode” button.

Menu
Clicking on the “Menu” icon opens a window that displays basic information about the model.
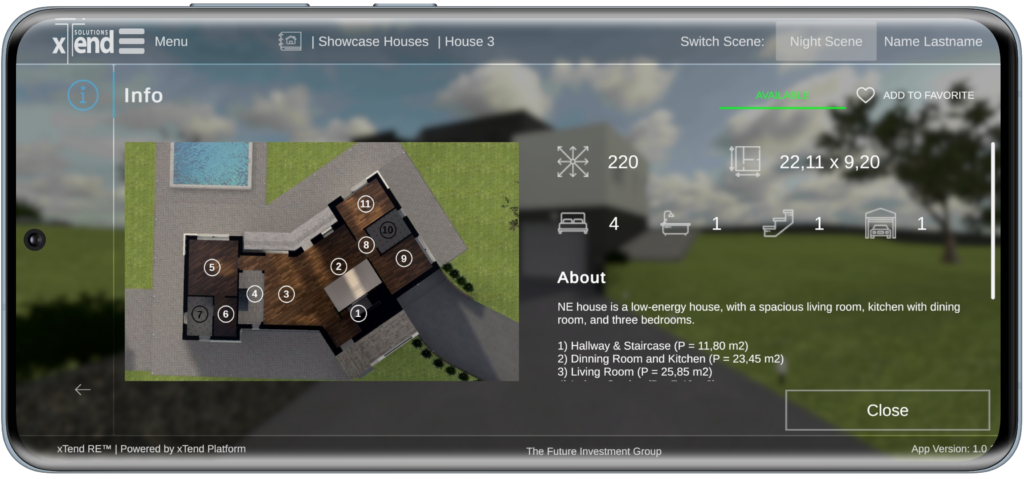
You can close the menu by clicking on the “Close” button.
By clicking on “Back“, you can exit the active model.
xTend RE V1.0.1